hexo
部署hexo
先安装nodejs,不然没法使用npm
1 | # 全局安装hexo |
界面美化
配置和安装主题
根据需求配置_config.yml文件,参考:
安装主题,我这里用的是next:
https://github.com/next-theme/hexo-theme-next
2
$ git clone https://github.com/next-theme/hexo-theme-next themes/next根据上面的链接配置完成后,可以使用
hexo server命令启动本地服务,验证是否配置成功。
注意!
注意,如果安装了next主题,并且想修改相关配置,请将blog\themes\next目录中的_config.yml文件拷贝到blog根目录中,并重命名为_config.next.yml,然后修改_config.next.yml以自定义配置,这一点官方文档有说明,不然主题更新了,可能会导致配置文件被覆盖。
对主题的深度自定义 友情链接
新版本添加鼠标特效和背景特效
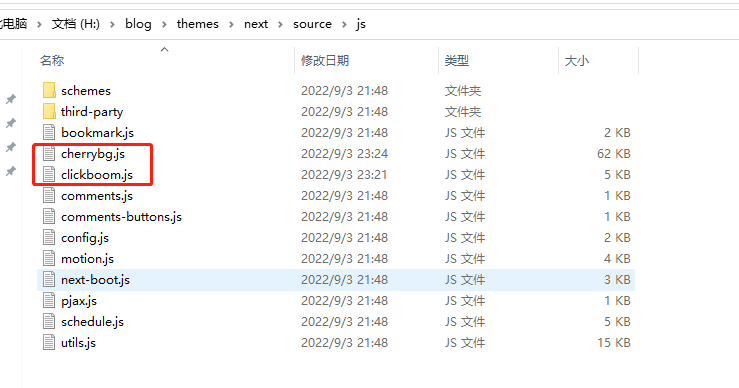
将特效的js代码放入
themes\next\source\js路径中,名字自定义,我这里加了一个背景和一个点击特效
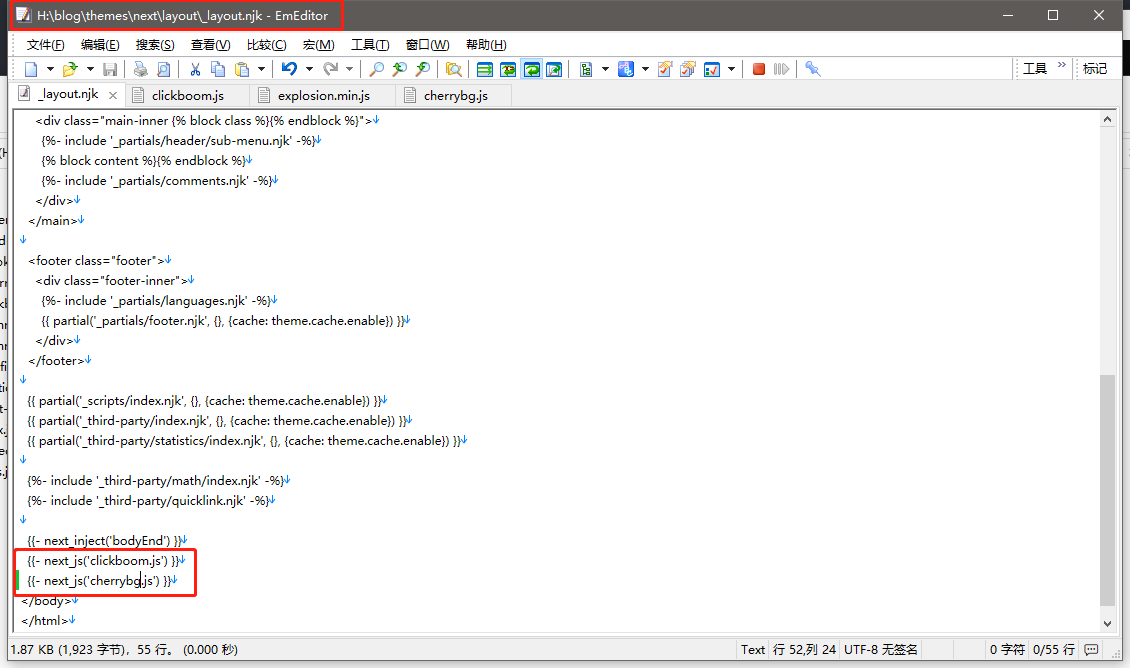
然后去
themes\next\layout下去修改layout.njk的配置,引入刚才添加的js:
推到github上托管
创建github个人首页:
在GitHub上创建个人仓库,仓库名称为`<你的github用户名>.github.io
配置config文件
还是去你自己创建的文件夹中找到_config.yml文件,在文件的最后,加入 如下内容
repo中是你刚才创建的仓库的git地址
1 | deploy: |
推送
1 | hexo g & hexo d |
关于图片无法显示问题
修改配置文件_config.yml中post_asset_folder的值为true:
1 | post_asset_folder: true |
进入博客目录,安装插件:
1 | npm install https://github.com/CodeFalling/hexo-asset-image --save |
配置完成,编写文章:
1 | hexo new <title> |
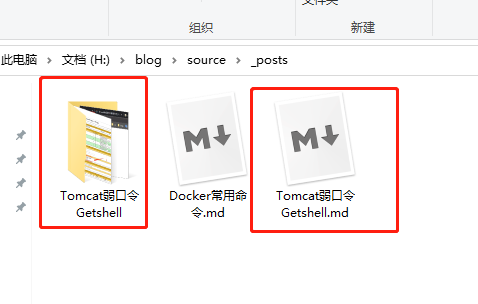
此时会在blog\source\_posts下生成一个<title>.md文件以及<title>文件夹
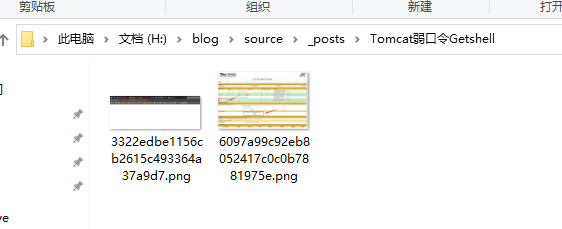
这时候只需要将图片放入文件夹中,md中不用加路径,直接引用即可
post文件夹结构:
很好用的插件
文章加密
安装插件
进入blog目录执行命令
1 | npm install --save hexo-blog-encrypt |
全局设置
设置hexo配置文件_config.yml,为文章设置同一的默认口令,直接追加到配置文件底部即可
tag中声明了私有标签名,和文章的同一密码,当文章需要加密的时候,为文章添加private标签即可
全局中可以声明多个密码和tag的组合,用来为不同类型的文章上锁
1 | # Security |
自定义密码
如果文章不想使用全局设置的密码,也可以为其设置自定义密码覆盖掉全局的密码设置,直接在文章中添加tag即可,格式如下:
1 | tags: |
或者
1 | tags: |
评论插件
评论插件用的是gitalk,next已经内置了,只需要配置参数即可。
注册github OAuth application
访问https://github.com/settings/applications/new ,相关信息按以下方法填写:
1 | Application name: # 应用名称,随意填写即可 |
将NexT的_config.yml,拷贝到博客根目录,重命名为_config.next.yml然后再修改其内容
1 | gitalk: |
hexo相关命令
生成静态文件
1 | hexo generate # 可以缩写为 hexo g |
部署网站
1 | hexo deploy # 可以简写为 hexo d |
启动服务
1 | hexo server |
清除缓存和已经生成的静态文件
1 | hexo clean |
列出网站资料
1 | hexo list <type> |
安全模式
1 | hexo --safe # 不载入插件和脚本 |
推荐使用:
1 | hexo clean && hexo g && hexo s |
整站源码备份和恢复
备份
将整站源码上传至GitHub,记得删除主题目录下的.git文件,否则主题不会被上传,另外根目录下也有类似.git的文件会阻止部分源码上传,可以直接删除。
恢复
git拉取下来之后需要安装hexo-deployer-git,删除.deploy_git文件夹后即可正常部署,否则无法部署
npm install hexo-deployer-git –save
另外如果配置了站点地图,迁移的时候同样需要重新安装
npm install hexo-generator-sitemap –save
